Create your first Add-In
Hi there ! 😃
Today we will see how to create an Add-In in excel in order to allow users to get an easy access to customize controls directly in a custom tab inside the excel ribbon. In order to do so, we'll do a very simple example consisting in the implementation of a "Add in Example" tab in the excel
ribbon with a custom button in it greetings the users and specifying that the Add In implementation was successful.
Alright, so first let's open a new excel file, and save it under the name "tuto_AddIn" using the ".xlsm" extention. Now beofre coding any vba macro we need to
reformat the default excel ribbon in order to create our new custom tab and fill it with our custom button. To do so, follow the below process step by step :
- close the tuto_AddIn.xlsm file
- rename it by adding the ".zip" extension
- extract all the files from your new tuto_AddIn.xlsm.zip file
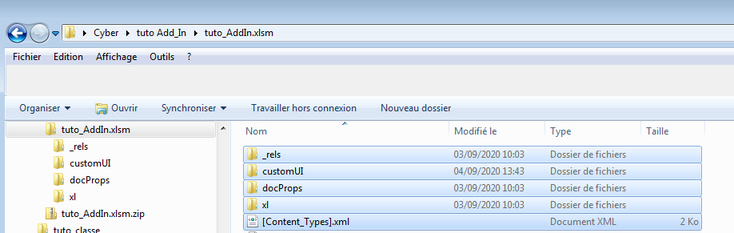
- Enter the new tuto_Add_In.xlsm folder and create a new folder called customUI
- Open the Window notepad copy the below snippet of code in it and save it as customeUI.xml in the customUI folder

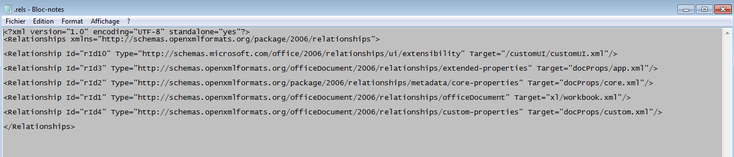
- open the _rels folder and replace the existing code by the following script
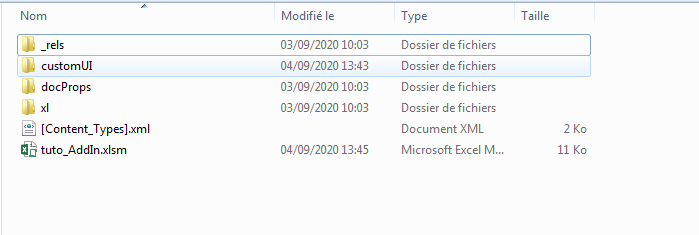
- Use a file archiver like 7-Zip to compress together the following elements ( _rels , customUI , docProps , xl , [Content_Types].xml )
- Rename the newly created tuto-AddIn.xlsm by suppressing the ".zip" extension
- Open the excel file and normally you should obtain the following result :

n.b. If that's not the case excel will inform you where in your code you made a mistake when you open the file.
Now that we our desired shell in our excel file, let's code our vba macro. So open the IDE with the alt + F11 shortcut, create a new code module for "ThisWorkbook"
called greetings and copy the following code

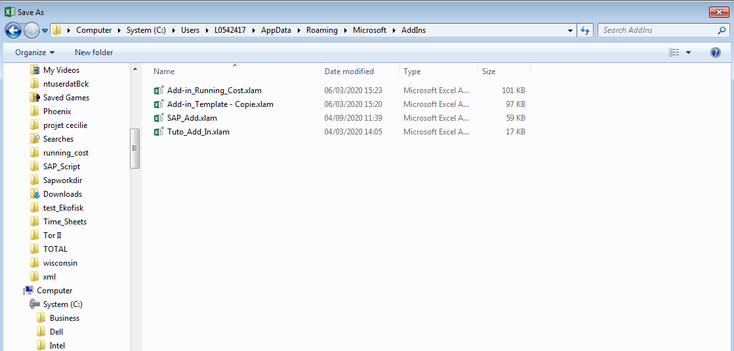
Once it's done, close the IDE, go into File/Save As click on browse and in the window popping up in the Save as type bar choose the ".xlam" extension. Normally you will see that you were automatically redirected in the folder where Microsoft save all the Add In. From there, click on save and close the file.
Now open a new blank excel file, go into the Developer tab and there click on Add-Ins. In the popping up window, choose browse and then select your newly created "Tuto_Add_In.xlam" add in. Once it's done click on OK and you should see appear our custom "Add In example tab"

And that's it we successful¯y created our first excel Add-In. As always don't hesitate to build on top of that simple example and create your own custom Add-In to
automate your own process.
The full code and scripts can be found here on my
github page.
Take care ! ✌️

All information/documents contained in this website rely solely on my personal beliefs, and do not constitute professional investment advice.
Be careful in your investment and do not invest more than you can afford to loose.
Contact :
e-mail: christophe.richon.pro@gmail.com