Class module tutorial

Hi there, hope you're doing fine ^^
Today will be a bit different than usual as we will focus mainly on the creation and usage of class modules. Indeed, even though it is not a mandatory skills to have to perform vba programming and can very well be skipped for simple models , it is however a good thing to know, in order to greatly simplify complex procedures and ease the maintenance of the code which is always a good thing ;).
But before getting down to the code let's do a bit of theory and see what are we talking about here.
1 What it is ?
In VBA as in many other computing languages it is possible to create your own custom objects in order to store, process or make data available. To do so we are using what we call Classes which are acting somewhat as "templates" for those new objects.
2 How is it working ?
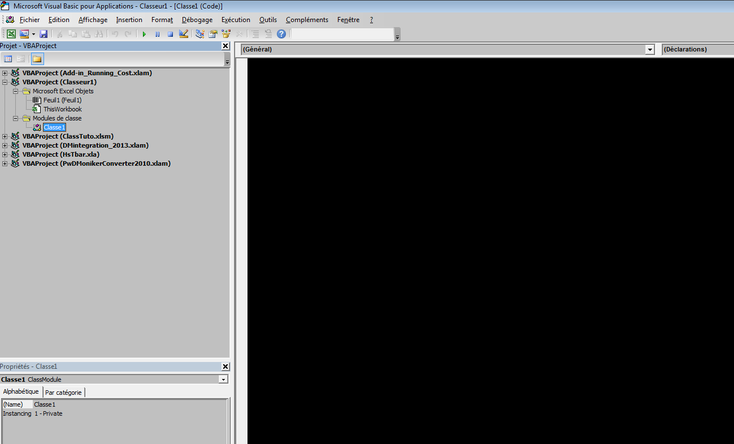
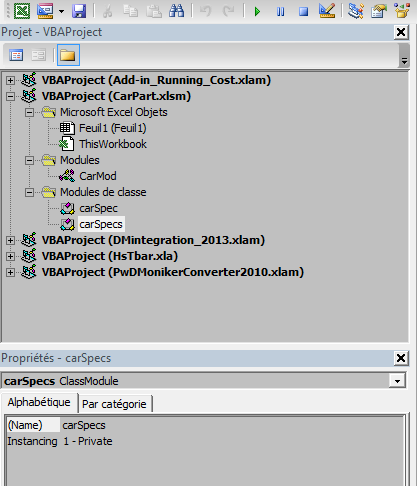
To create a new Class, you simply have to create a new Class module in your VBA project.
However even if you never used classes before it is important to not be impress by it and remember that Classes are nothing more than specific objects and as such work like any other object with its own set of code defining its properties and methods that will be written inside the Class module.
Observation : It is important to note that the properties of the class object are manipulated through the use of three Property procedures :
- Property Let : writing of simple type property
- Property Set : writing of object type property
- Property Get : reading of any types of property
If you want further explanations about the nature of the Class object I let you go check out this link
Alright, so now that we have a basic understanding of what we're dealing with it's time to get our hands dirty and try it for ourselves through coding our own examples.
In order to keep things simple we will build three basic examples as follow in order to cover most of the basic use of this object :
Example 1 : Creating a class regrouping the identity of a user and asking VBA to show us the different information in a MsgBox.
Example 2 : Creating a class regrouping the different specification of an array of multiple cars and iterate through this array to show the different specification of those cars in the console through the Debug.Print function.
Example 3 : Based on the previous example create a small application asking the user for the mileage of each car and the price of fuel to calculate the monthly cost of fuel.
Let's start with our first example ^^
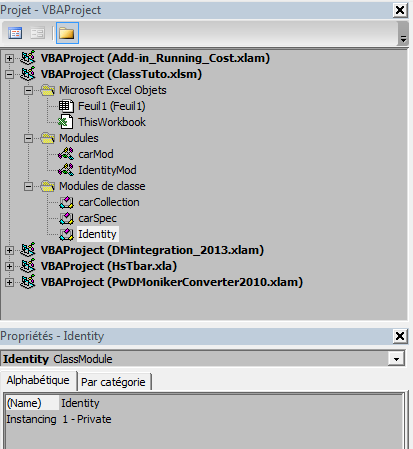
First we will need to create a new class module that we'll call "Identity"
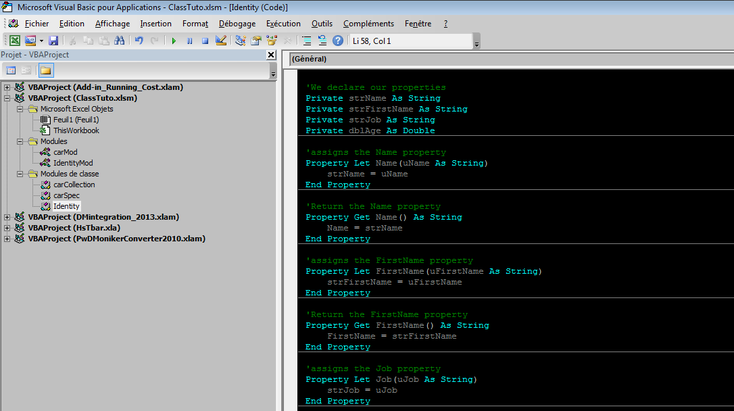
Once we're set up, we code our class properties in the class module as follows :

And finally we create a basic code module, in which we instantiate an instance of our class and create a reference to it that we use to retrieve the value that we specified for each property of our class.

And that's it even though very basic we successfully created our first Class module ^^
But let's continue and see now how we can deal with more than one element in our classes. To do so we're going to build on top of a Class module called carSpec and encapsulate inside of it a Collection Object.
To do so, as in our previous example we're going to create a new Class module that we will call carSpec and inside of it specify our properties as follows :
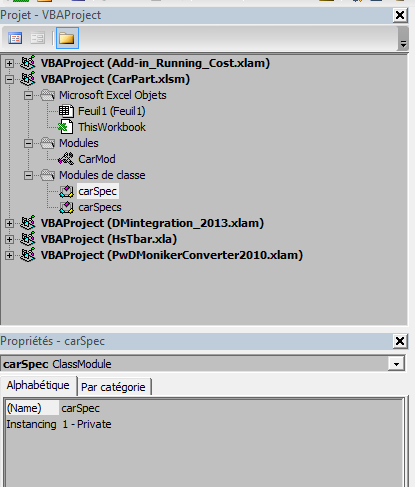
Once it's done we'll create an additional class that we'll use as a Collection called carSpecs
n.b. As though it is not mandatory it's always good to know that by convention Collection usually have the same name as the object that they contain with an additional "s" so here we would normally have called our carCollection class module "carSpecs".
From there, the first thing that we're going to need to do is to set our Class properly by declaring it as a Collection and create our Initialize and Terminate events.
note : The Initialize and Terminate event are two special events triggered respectively when objects are created and destroyed. Even though they are not mandatory for the code to run I can only strongly recommended you to use them in order to get a clear view of when the object are created and when they are erased and save as such a lot of time during the potential debugging operations.

Now that we declared our Class as a Collection we need to implement the following methods normally associated with a custom Collection :
- Add : allows to add a new element to the collection
- Count : gives the number of elements in the collection
- Item : allows to use an element of the collection
- Remove : remove an object of the collection
so let's get down to it :

Observation :
As you can see Count, Remove are pretty straightforward and don't need additional explanations.
However as you maybe have notice in our Add function we specify atomatically the Parent property with the following line :

However, we didn't create any Parent property inside our carSpec module so we need to go back and create it as follows :

As such we will now be able to call the parent property in our Collection object which encapsulate our carSpec object and specify the hierarchy between those two object by assigning our Collection object as the Parent.
Also, it is interesting to notice that our Index parameter inside of the Item function is of Type Variant as it could be either a string if specified with our Key parameter or a long if specified through its position in the collection.
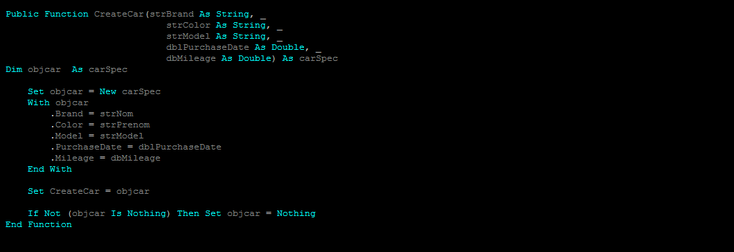
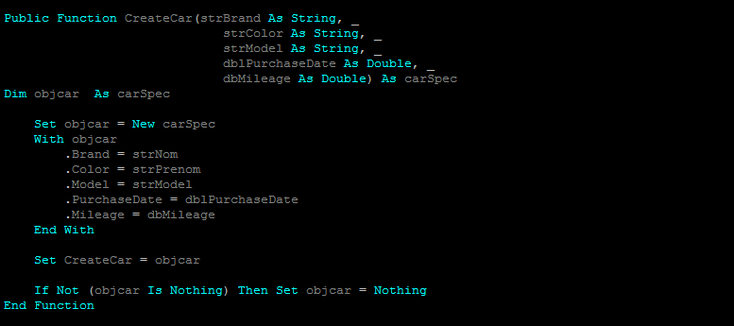
Now, before being able to test our module we need to create a function allowing us to instantiate a carSpec object without having to create a pointer.
And that's it for our class module ! So if you need to, take a quick breack to take a look back at the code and then come back to test it in the code module.
Alright, now let's try it out. First as always we open a new code module that we'll call here example2 and input the following simple test code.

And here it is, we successfully used Class modules to take into account arrays of data.
So congrats to you if you made it this far ^^ and don't hesitate to take a quick break and grab some coffee if you need to, in order to refresh a bit your mind before coming back for our third party where we'll create a small application on top of what we already learned.
In this third and last example we will create a really basic application which is asking for each car model the number of miles driven during the last month and the gas cost during the month before returning to the user the gas cost spent by the owner of the car during the past month.
To do so we will build on top of what we already did so you'll see it will be pretty straightforward.
First we have to go back to our carSpec Class module and input our new elements which are the Mileage property registering the miles per gallon for each model and our FuelBudget function allowing to caluclate the amount spend on gas for each model relatively to the miles driven.

Once our carSpec module is modified we have to go to our carSpecs module and add our new Mileage property inside our CreateCar function as follows :
Then, in our code module we only have to declare two new dimensions to take into the acccount the distance driven and the gas price, use the InputBox element to ask the user to fill the values for us and watch the magic happening as we call the MsgBox element to show up the final cost of gas for each car:

And that's it ! So congrats if you follow along up to this point ^^
As always full code can be found here on my github repo and don't hesitate to build on top of this little app and upgrade it to perform more complex task.
That's all for me for today so hope you enjoyed this tuto and learn new things otherwise happy coding and see you next time.
See you around

All information/documents contained in this website rely solely on my personal beliefs, and do not constitute professional investment advice.
Be careful in your investment and do not invest more than you can afford to loose.
Contact :
e-mail: christophe.richon.pro@gmail.com