
OVM Introduction
Hi there ! Hope you’re doing great ^^
Today we’re going to do a short introduction about the Optimism Rollup and see how we can easily convert a basic ERC20 token project so that it could be used both
on the usual EVM and on the OVM supporting the Optimism rollup technology.
So first thing first, as usual we need to clone the github repo for the tutorial :

Repo can be found here
N.B. Don’t forget to follow the instructions of the read me file in order to set up properly the project and be able to run the testing command without any
problem 😉
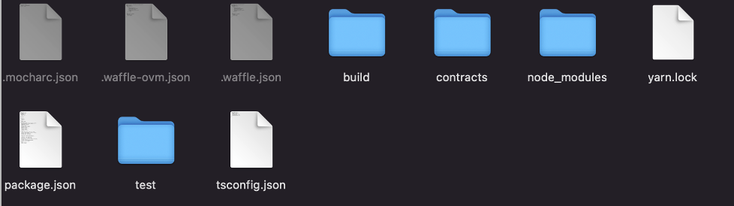
Alright, now that we have the project locally on our desktop, let’s make a quick tour of it to know what we’re dealing with here.
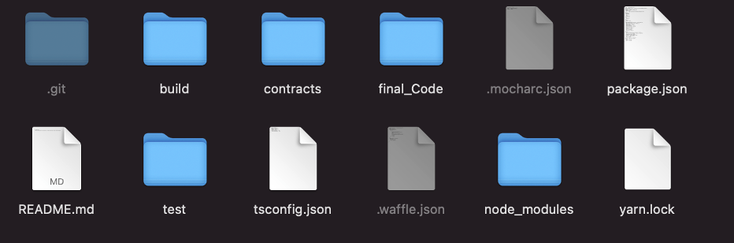
As we can see, we have two main folders :
- A “contracts” folder in which we can find the vanillaToken.sol file containing the smart contract for our basic ERC20 token
- A “test” folder containing the vanillaToken.spec.ts test file that we will use to perform our testing and another folder called shared in which you will find configuration files (more on this later)
And the usual common files that you’ll find in any other project :
- package.json
- waffle.json
- tsconfig.json
- mocharc.json
Now, let’s first test our project with the EVM in order to make sure that everything is working smoothly.
To do so, let’s first install all our dependencies as follows :

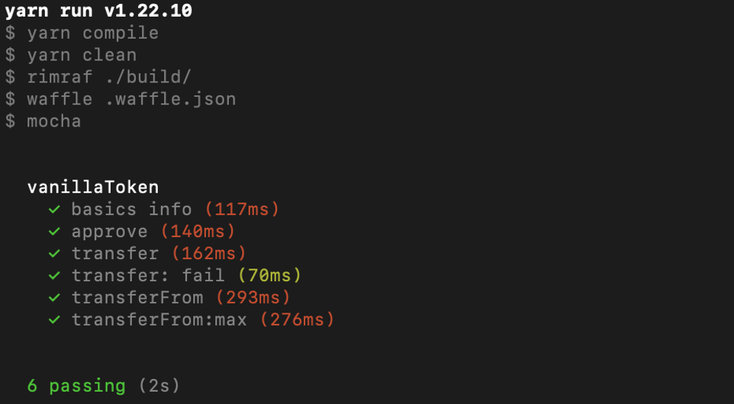
Once it’s done let’s run our test with the following command :
$ yarn test
Normally, everything should run smoothly and you should end up with a successful test with 6 passing :
Alright, so now that we know that everything is working fine on the EVM let’s see how we can finetune our little project to allow the use of both the OVM and the EVM.
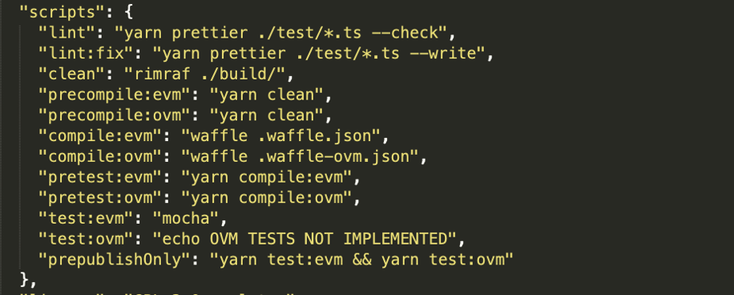
First let’s open our package.js file and setup the tasks for these two test suites as follows :

Let’s check the modification of our script command by running the following command :

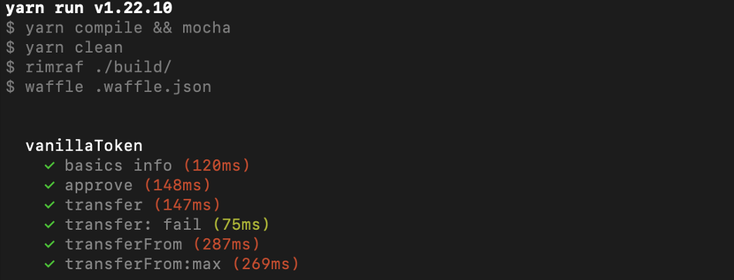
As you can see our test:evm command is working fine and gives us as expected the same results as before.
N.B. If you wish to convert a project of your own in order to make it work with the OVM don’t forget to modify all the imported packages in your test files
accordingly and use ‘@ethersproject’ instead of ‘ethers’ (see coding files for more details).
Let’s now move forward and build our Optimism setup.
First, we’ll need the two following packages :
- @eth-optimism/solc allowing us to compile our contracts for the OVM
- @eth-optimism/ovm-toolchain which provide wrappers and plugins for common tools such as Ganache, Waffle V3 ….
To install both of these packages run the following command :

Alright, from there when we’re compiling we need to make sure that we’re using the OVM compiler that we just installed because for now the existing compiling script
.waffle.json that we’re using is only reading the EVM compiler settings.
To do so, let’s create a new file managing the OVM compiler settings that we’ll call .waffle-ovm.json and point it to the OVM compiler as follows :

Once it’s done, let’s reopen our package.json file and set up our OVM scripts as follow :
Run the yarn test:evm command to make sure that everything is still working and then run the yarn test:ovm command, normally you should obtain the following result :
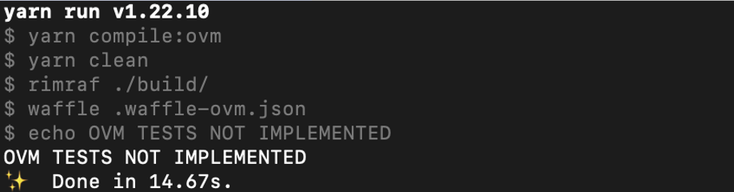
As you can see it is compiling with the OVM compiler which is good news but doesn’t test anything which was to be expected given that we specified in our script to
console log the current message that have been displayed in our console ;)
So now, let’s try to use our testing file with the OVM, to do so let’s go back to our package.js file and apply the following changes :

As you can see here, we’re using the environment variable called MODE in order to setup the tests differently depending on whether we are running them against the
EVM or OVM.
Consequently, we’re going to have to fine tune our config.ts file (in test/shared) in order to handle all the chain-specific logic.
Indeed, as you may know, Waffle starts a local node when a new provider instance is created with new MockProvider().
Example of new provider creation in vanillaToken.spec.ts :

And typically, this new instance is by default an EVM instance, but for the OVM tests we need an OVM instance. As a result we’ll use the MockProvider from @eth-optimism/ovm-toolchain for the OVM tests, instead of Waffles’ standard MockProvider by configuring a chain logic with the help of our config.ts file as follows :
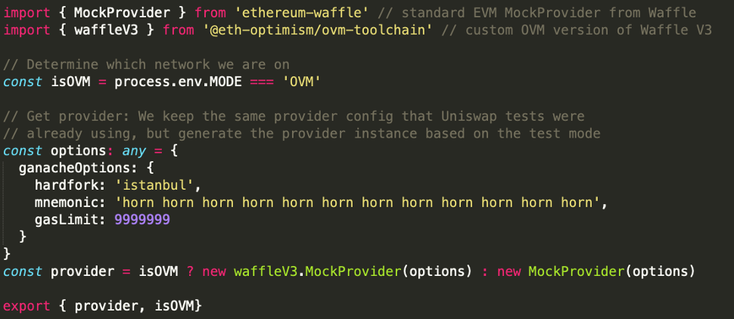
By the way, since @eth-optimism/ovm-toolchain does not have type definitions, the TypeScript compiler will complain due to the fact that the new MockProvider implicitly has an “any” type. To avoid having to declare these types ourselves let’s just edit the tsconfig.json in order to turn off this rule.

Alright, so now the moment of truth …
Let’s test again our file by running the yarn test:ovm command :
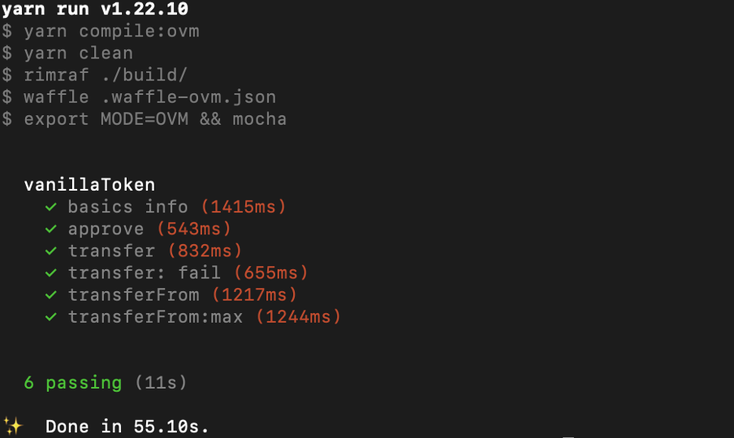
And it works !! 🥳🥳🥳
So, as you can see using the OVM is not too complex and is more about fine tuning the config details of your project than modifying the core code of your smart
contract on the contrary of the ZK-rollups.
To conclude, I hope that this small introduction, gave you a good idea on how to twitch your own projects in order to use Optimistic Rollups and as always don’t
hesitate to go deeper and try it out on different files.
See you on the next one ! ^^

All information/documents contained in this website rely solely on my personal beliefs, and do not constitute professional investment advice.
Be careful in your investment and do not invest more than you can afford to loose.
Contact :
e-mail: christophe.richon.pro@gmail.com