Create your first ERC20 token ( part 2 )
Hi there ! Welcome back to this multi part tutorial where we're building our first ERC20 token 😃
In today's tutorial, we will finish our ERC20 token by implementing the transferFrom, allowance and approve function and then create another Solidity file in order to enable us to buy our token against Ethereum.
Note : If you didn't do part 1, be sure to have the correct set up (truffle, node.js, Ganache ... ) up and running before going any further.
As in the last tutorial I already prepared the project so I'll let you clone the github repo 😉
Alright, now that we're all set up let's get back to our main focus and continue the coding of our ERC20 token. But first, we need to finish it and make it ERC20 valid by implementing the following missing functions :
- transferFrom
- approve
- allowance
So let's get back to our token.sol file and do just that.
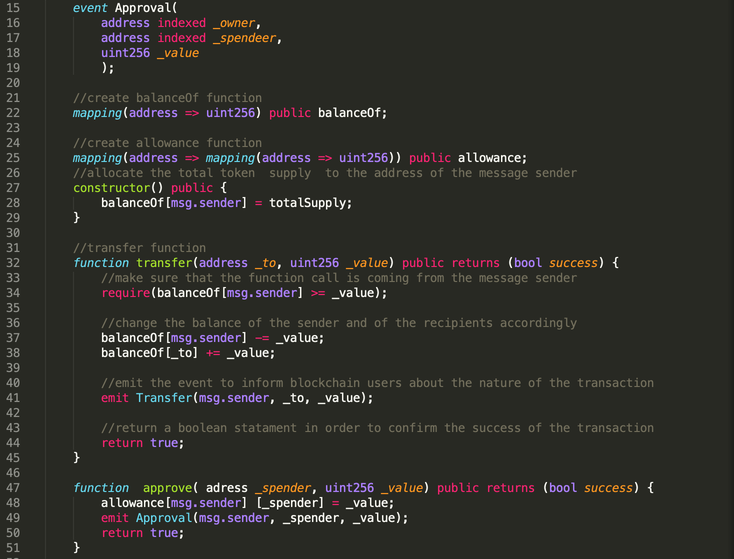
Code explanation :
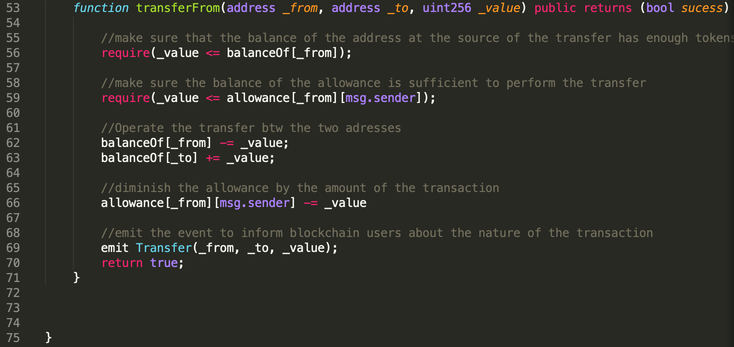
- The creation of the transferFrom function is pretty straightforward and pretty similar to the transfer function at the difference that here we add another argument detailing the address to take into account as source of the transfer
- The allowance function exhibiting a pretty particular mapping is explained here by the fact that we link to the contract address a permission from the msg.sender address to spend a specific amount of ETH.
- As in the case of the transfer function, we need to create an Approval event in order to exhibit to other users on the blockchain the allowance details agreed by the msg.sender toward the contract adress.
- The creation of the approve function is a bit more complex. Here the whole idea is to allow the contract to spend ether on the behalf of the spender. That's why we use here the allowance function and then emit the Approval in order to inform blockchain users that the msg.sender allowed the contract to spend a specific amount of ETH on his behalf.
And that's it ! We have a functionning token under the ERC20 standard 👍
Let's move now to the second part of our tutorial where we create our buy function in order to enable users to buy our token against ETH. To do so, open the buy.sol file in the contracts folder and copy the following code which is pretty straightforward :

Code explanation :
- In the case of our buysETH function given that the idea here is to buy tokens against ETH, we have to allow our function to receive ether while being called that's why we are declaring our function as payable.
- You can also notice in our constructor that we are declaring our syntETH token variable as a state variable dor this contract in order to be able to then use it in our buysETH function
- Also, given that we chose here an exchange rate of 1 between our token and ETH, it seems appropriate to use the denomination sETH given that our token is behaving like a synthetic ETH.
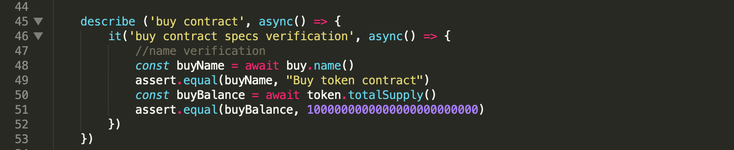
Alright, now that we have our two contracts, it's time to return to our token_test file in order to verify that everything is indeed running. Let's first start by importing our new buy contract in our test file and as before check its basic information to make sure that everything is migrating properly on the blockchain :
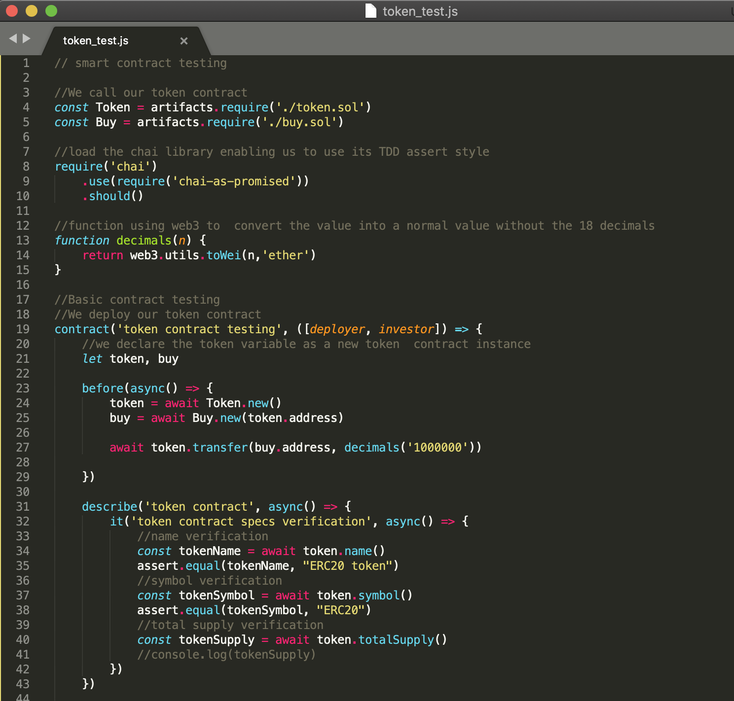
Code explanation :
- As you can see on line 27, we have to perform a transfer of all our tokens toward our buy contract before starting our testing sequence
However, before trying it out as in the previous tutorial we have to migrate our code on our local blockchain version by running the truffle migrate --reset command
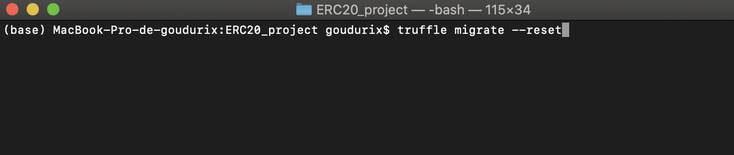
in order to then be able to run our test with the help of the truffle test command
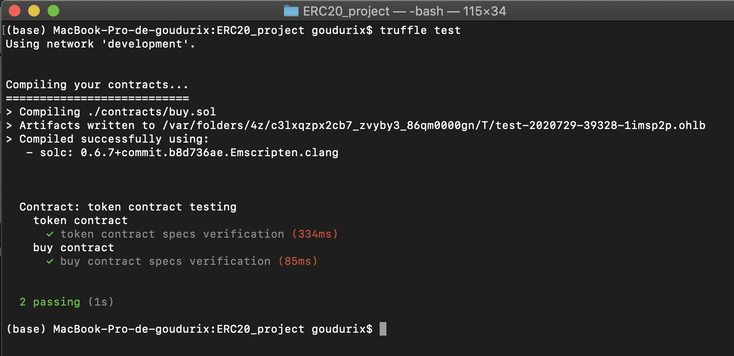
Alright, so now that we sucessfuly migrated our second contract on our blockchain, it's time to test if our buy function is indeed running. To do so, the idea here is to perform first a dummy buy action in order to then see if the result is in accordance with what we expect.

So let's run our test to see if everything checks out

And yes ! It sucessfully checks out !! 🥳🥳🥳
So congrats if you succeed in making this work, we now have at our disposal afully working back end.
In the next tutorial we will approach how we can create a front end with React.js linked to our back end in order to allow end users to buy our token through a nice and easy web interface but in the meantime, don't hesitate to play a bit around especially if there are areas of the code that doesn't appear very clear to you.
As always full code for this tutorial can be find here.
Take care ✌️

All information/documents contained in this website rely solely on my personal beliefs, and do not constitute professional investment advice.
Be careful in your investment and do not invest more than you can afford to loose.
Contact :
e-mail: christophe.richon.pro@gmail.com